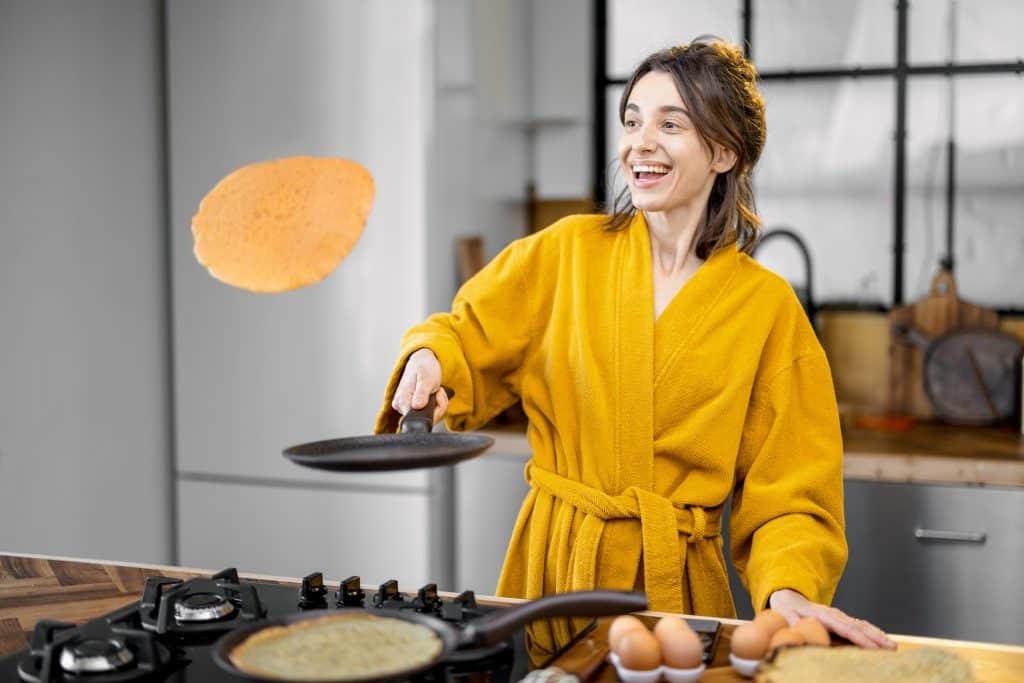
The art of preparing pancakes combines tradition and technique. While the recipe for the batter is essential, mastering the cooking process is equally crucial for achieving golden and flavorful pancakes. One often overlooked aspect is the right moment to flip the pancake. Let’s explore this visual cue that you shouldn’t miss for perfect pancakes every time.

Bubbles: The Key Indicator
As the pancake cooks, a key sign appears on the surface of the batter: small bubbles. When these bubbles form and gently burst, it usually indicates that the bottom is beginning to brown and that the pancake is ready to be flipped. This phenomenon shows that the heat has penetrated the batter well, ensuring even cooking.
Visual Check: The Spatula, Your Ally
If you’re in doubt, a discreet glance can reassure you. Grab your best ally, the spatula. With it, gently lift a corner of the pancake to check the color. It should be lightly browned without being overly dark. The key? Finding that perfect balance that guarantees optimal texture.
The Secret: Good Timing
If you’re precise, pull out your timer! Generally, a pancake requires between 30 and 40 seconds of cooking per side. This time can vary based on your pan’s temperature and the batter’s thickness, but it remains an excellent baseline to avoid pancake failures.
The Temperature of the Pan: A Crucial Factor
The temperature of the pan plays a vital role in cooking pancakes. A pan that is too hot can burn the pancake before bubbles form, while a pan that is not heated enough can extend the cooking time, leading to a dry and rubbery pancake. Therefore, it’s recommended to preheat the pan on medium heat and lightly grease it before each pancake to ensure even cooking.
The Importance of the Batter: Consistency and Resting
The consistency of the batter also affects bubble formation. A batter that is too thick will hinder proper bubble formation, while a batter that is too runny will make the pancake difficult to handle. After preparing your batter, allow it to rest for at least 30 minutes. This resting time allows the ingredients to mix harmoniously and achieve optimal texture.
Professional Tips: Techniques and Tools
Professional pancake makers often use specific tools, such as a rozell, to evenly spread the batter across the surface of the pan or griddle. This technique ensures a uniform thickness, facilitating even cooking and bubble formation. If you don’t have a rozell handy, a simple ladle and a good-quality non-stick pan will do the trick. The key is to pour the right amount of batter and spread it quickly to prevent it from starting to cook before it’s evenly distributed.
Common Mistakes to Avoid
- Not heating the pan sufficiently: A cold pan will extend cooking time and prevent bubble formation.
- Using too much fat: This can prevent the batter from adhering properly to the pan, leading to irregular bubble formation.
- Flipping the pancake too soon or too late: It’s essential to wait for bubbles to form and burst before flipping. Premature flipping can result in a sticky pancake, while flipping too late can cause it to burn.
Adapting Techniques to Your Preferences
Depending on your taste, you can adjust the cooking time to achieve pancakes that are more or less golden. If you prefer them slightly crispy, extend the cooking time a bit after flipping. For softer pancakes, reduce the cooking time on the second side. The key is to closely observe the surface of the pancake to adapt accordingly.